

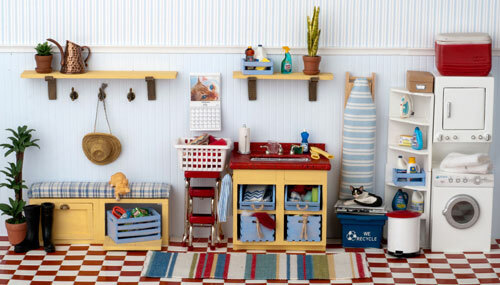
Crafty extras:
The storage bench is made from two 1 1/2” upper cabinet kits, assembled as per directions, except 1) the interior shelves were not used, and, 2) the door panels were replaced with same-size pieces of mat board for the Shaker-style flat-panel look. (If your bench will be stained rather than painted, use 1/16"-thick basswood or balsa instead of mat board.) Hinge one cabinet’s door to the left and one to the right. Install door pulls that will use nails or pins (#65549 used here) before installing doors. Check that the doors open easily and do not push inward (use the shelves if desired, or glue a small scrap of wood inside if that is a problem). Place the cabinets end-to-end; if there is a recess at the ends it can be filled with mat board. Add feet if desired (search miniatures.com for “knobs;” many options found there will work well). Add a back panel of heavy paper or mat board. The bench cushion is a scrap of foam core cut to size and upholstered with a layer of thin batting (or felt) covered by fabric.
The sink base cabinet is assembled as per directions, except the false drawer fronts at the top were replaced with same-length pieces of 1/16" x 3/8” strip wood (or mat board). (The doors are not used in this setting, but were assembled with replacement flat panels and can be installed later if desired.) As a final step after sink installation and before painting, a 1/4" strip of heavy paper is used to fill the toe-kick area and a heavy paper back panel was applied.
TIP: Trace the sink opening to create a template before assembling the sink base.
The countertop is a piece of mat board that is cut to size and has the sink opening cut out, using the template described above. Glue strips of 1/8" quarter-round molding (#81430) to the front and side edges; sand the corners round when the glue is dry. Glue a 3/8" strip of mat board to the back edge as a backsplash. Check that it fits onto the sink base.
Finish the countertop as desired; this is a paper printout of a countertop material image found online and glued in place, but a painted faux finish or solid color would also work well.
Install the sink as an under-mounted fixture, seen here, or drop it in from the top. Add faucets.
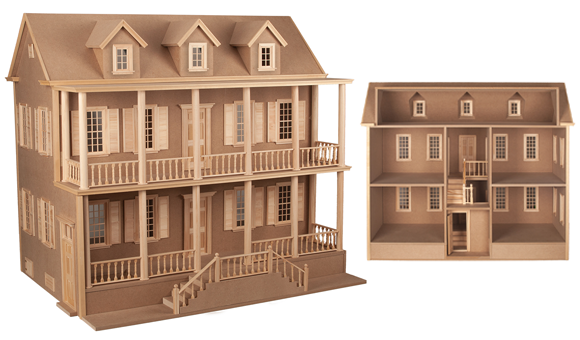
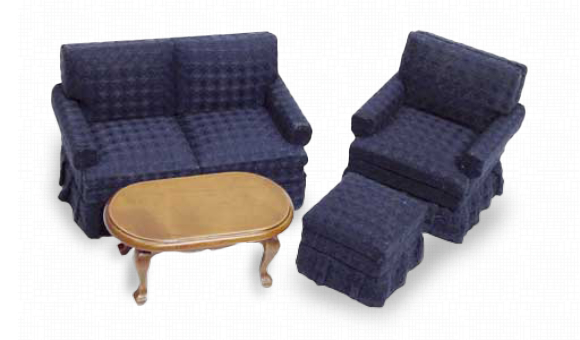
Recreate this scene with these items.
Note: some items in the photo may not be currently available and will need to be substituted.