1:144 Scale Dollhouse KIT Tiny German Tudor w/ Greenhouse and Grass 5 Room Home
1:144 Scale Dollhouse KIT Tiny German Tudor w/ Greenhouse and Grass 5 Room Home
SKU:HDM104
Couldn't load pickup availability
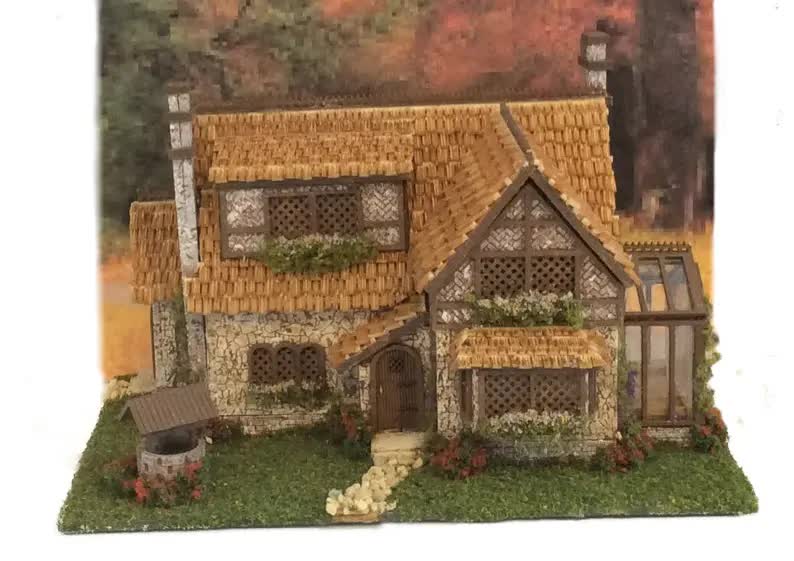
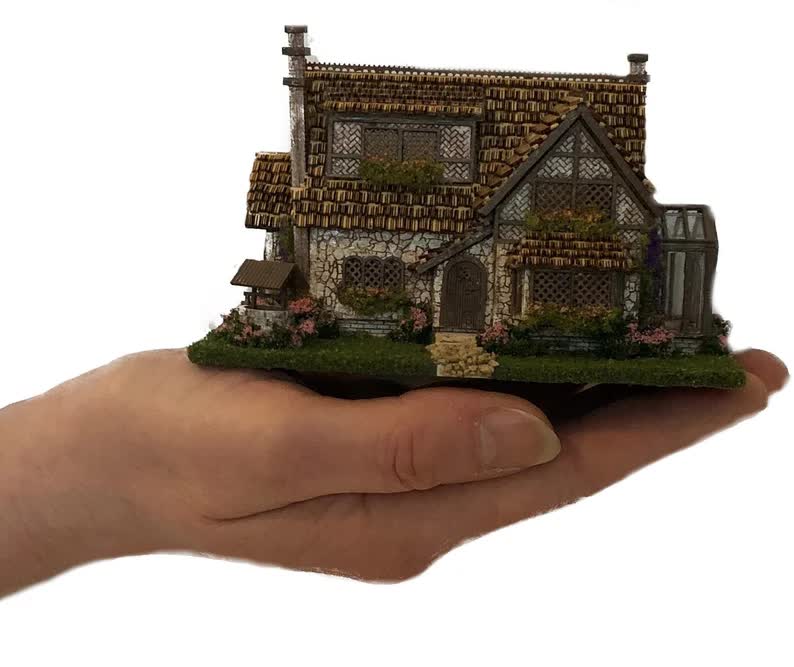
When assembled this little house fits in your hand.
The Tattington is a reproduction of one of the homes designed by Storybook Homes. Storybook Homes is a cottage design firm specializing in Storybook cottage architecture and offers full working architectural drawings for new construction. If you would like to live in one of these homes they are the place to go.
We contacted them and asked if we could reproduce one of their cottages in miniature, and they gave us their permission. We chose the Tattington.
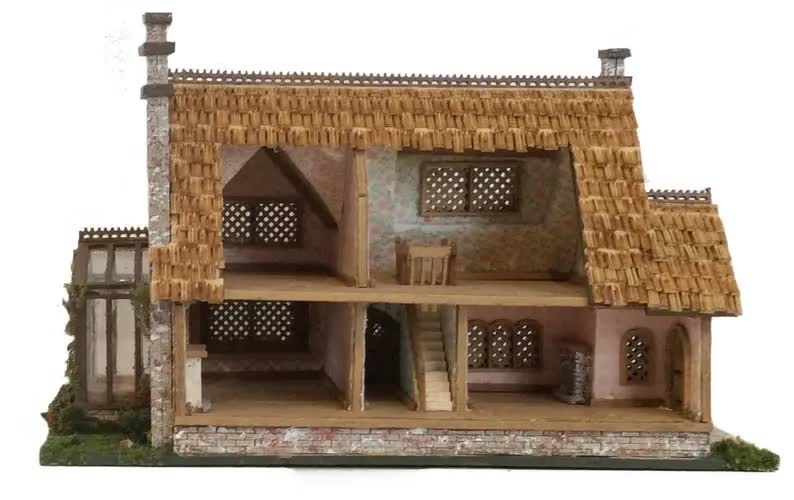
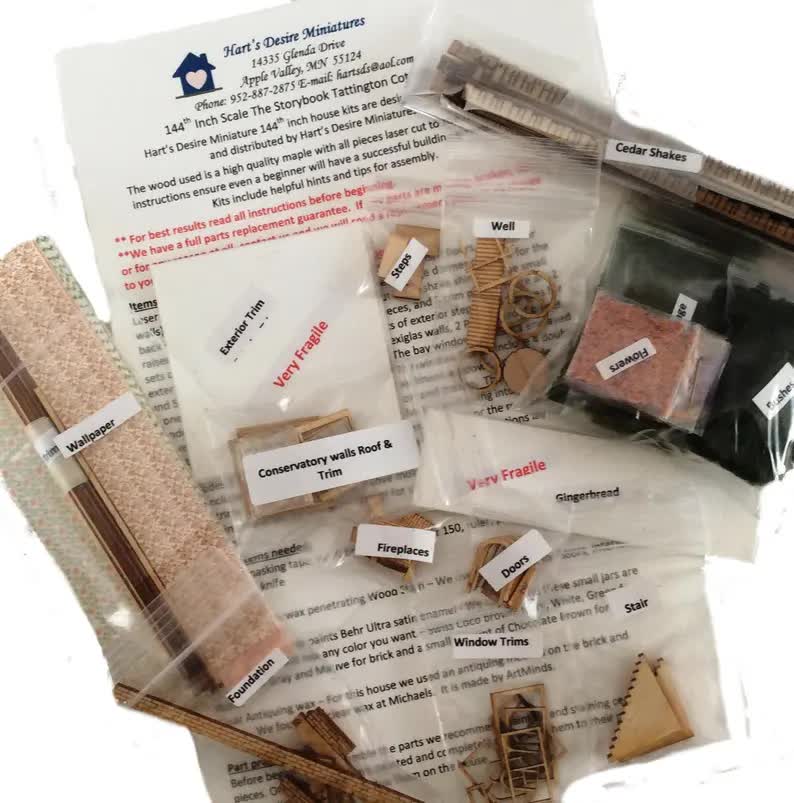
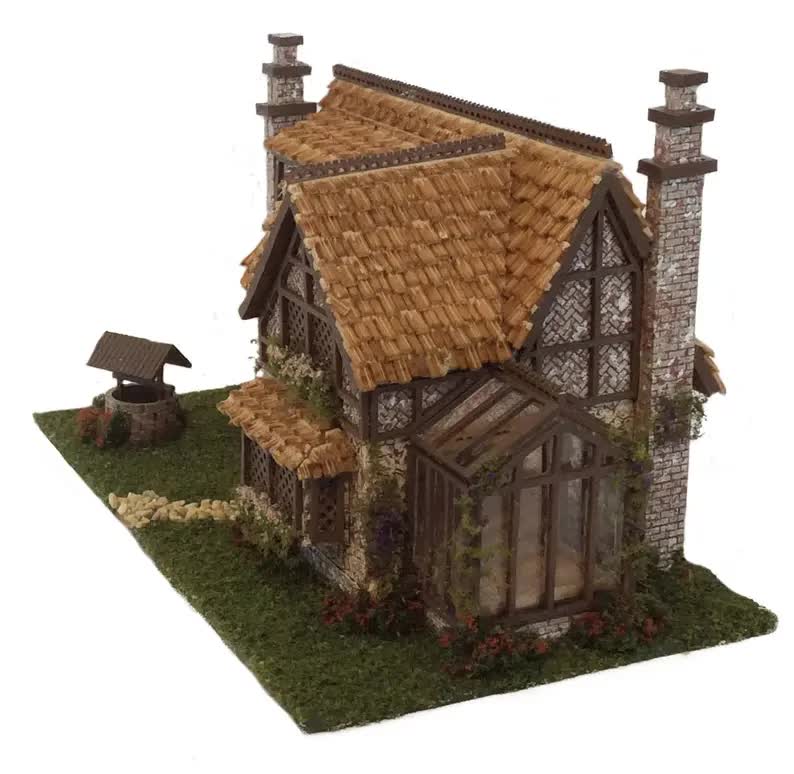
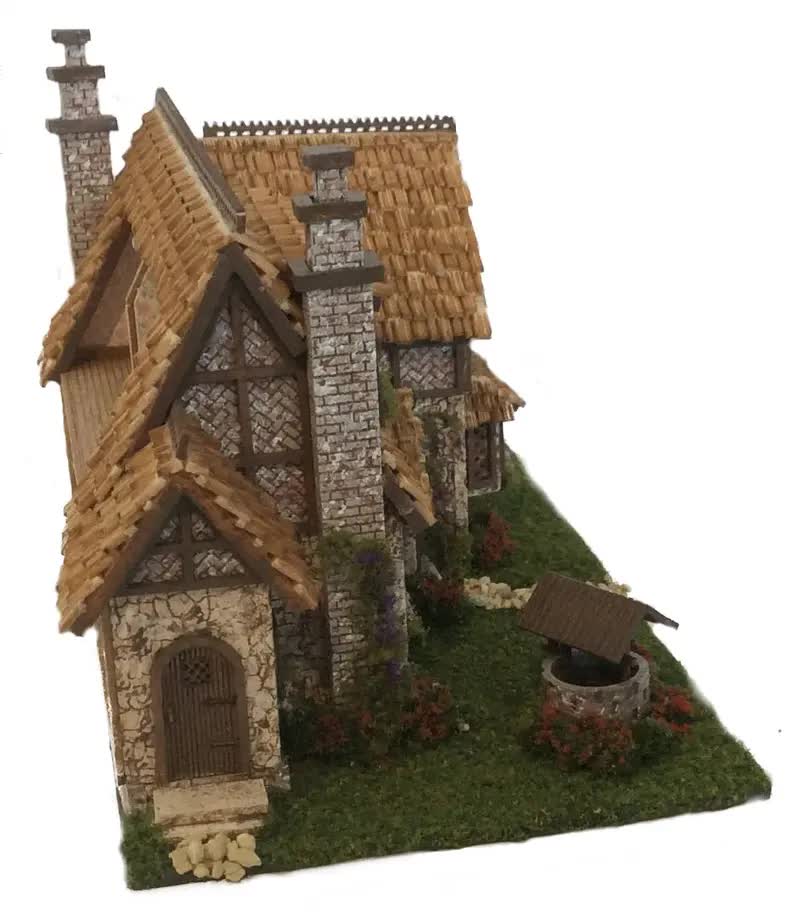
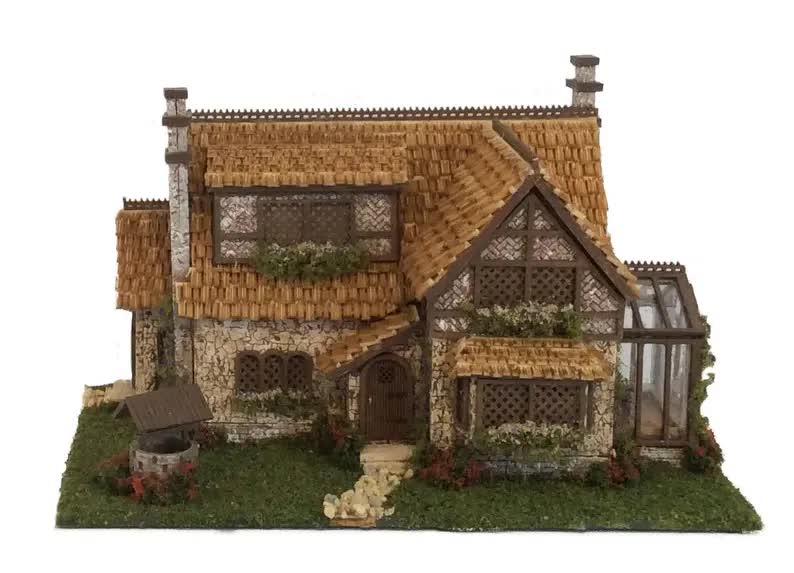
The Tattington Cottage Style house features the classic Tudor style including stone and herringbone brick design. We also fell in love with the glass conservatory. This kit includes everything needed to finish the interior and exterior of the house. It also includes 2 fireplaces, staircase, and well.
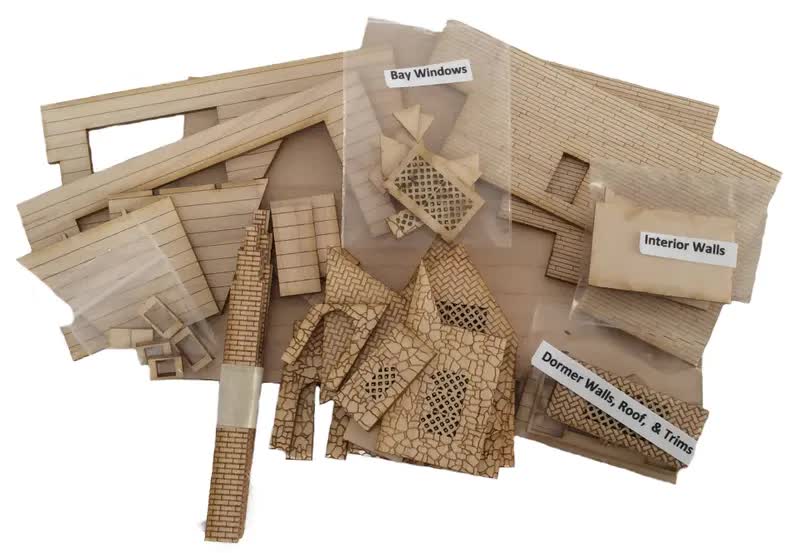
The structural pieces are laser cut out of 1/16th maple hardwood . The kit includes the base, two floors that are etched to resemble hardwood flooring, The exterior materials exterior trims, cedar shakes, roof trims, and two chimneys.
The conservatory walls and roof are cut from 1/16" Plexiglas.
The interior materials include wallpaper, baseboards, cove molding, and trims for the edges of the walls and floors. The kit also includes the staircase and two fireplaces.
Also included are all laser cut parts for doors, window casings, window frames, shutters, Plexiglas, and window boxes.
Landscaping materials include grass, bushes, foliage for window boxes and vines, and 2 bags of flowers; one mixed flowers for window boxes, one color for bushes and vines. And of course no Storybook home would be complete without a well.
The step by step instructions are detailed with diagrams and pictures.
It is important to note that our house kits include everything you will need to complete the house as shown except the paint, tools, and glue.
Finished size including base 4 ¾" wide x 2 ¾" deep x 2 ¾" high